Now that we have the Article and Author tables created we can start building our application. Since every article needs an author, we'll work on the interface for managing authors first. This will allow us to add a couple of dummy authors (not that our authors are dummies) we can use as we work on the article side of the system.
I'm using DNN 7.2.2 to build this application as it is the latest version available at the time of this writing. There's nothing magical about using this version. Virtually any version should work just fine.
Setting Up Our Article Pages
Let's start by setting up a few blank pages in the site. To keep things simple, I'm going to create Articles and Authors as top-level pages. You're welcome to organize them in whatever manner you wish. Put an XMod Pro (XMP) module on each page and navigate to the Authors page.
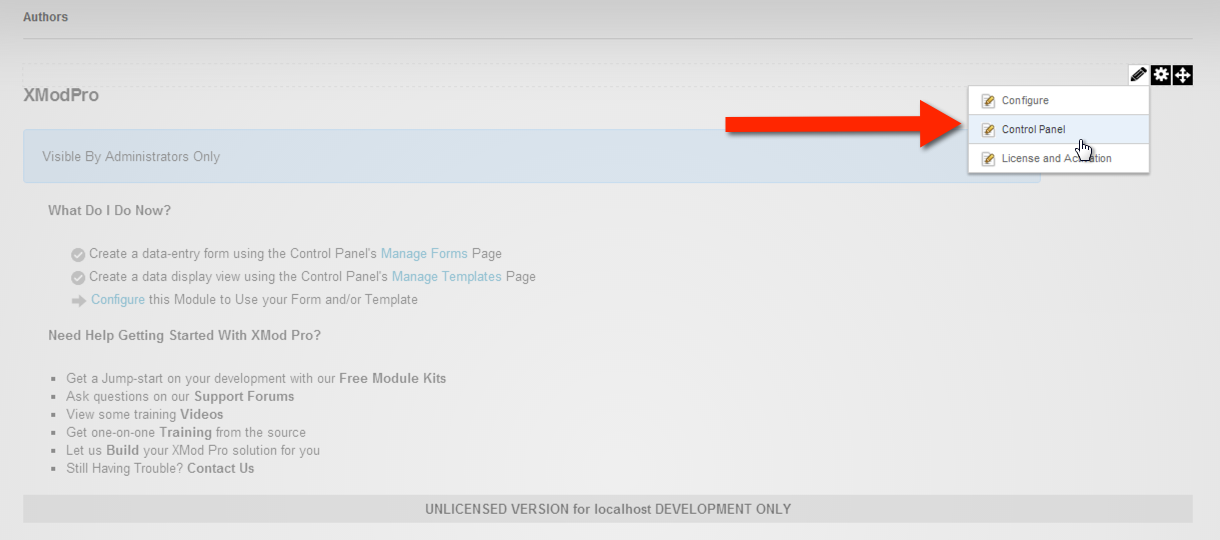
From the Author's page, hover over the XMP module's Action menu and choose Control Panel
Create the Author Add and Edit Forms
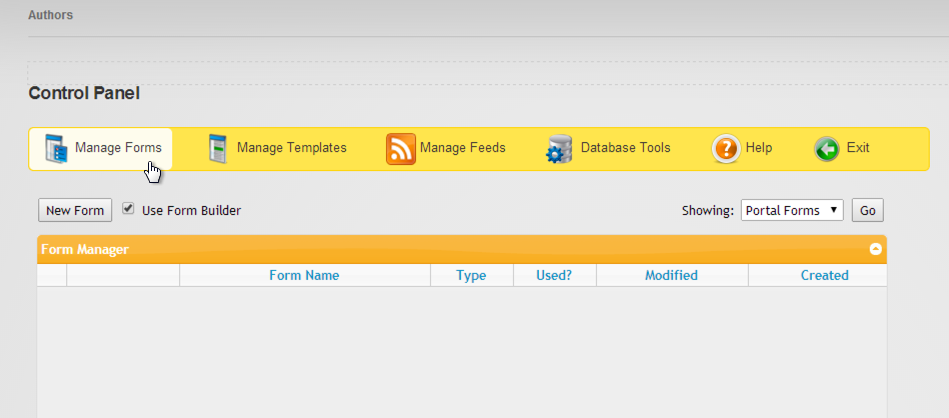
Select the Manage Forms Tab
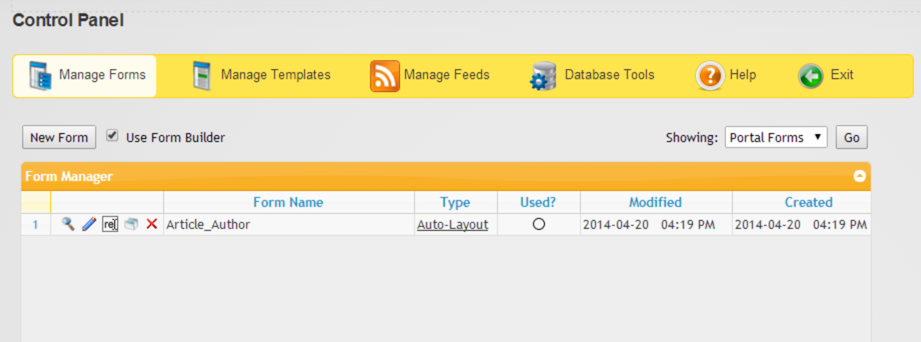
Click the "Manage Forms" button in the Control Panel's toolbar to load the Manage Forms Grid. This is where you create, modify and delete data entry forms in XMod Pro.
Starting the Form Builder
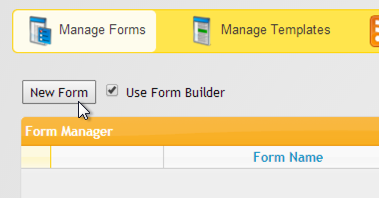
Make sure the "Use the Form Builder" checkbox is ticked and click the New Form button.
The Form Builder
The form builder isn't the only way to create a form but it is the quickest - especially if you've already got a table you want to hook-up. We simply need to give our form a name, select the table we want to hook it to, click a button and watch XMod Pro do all the grunt work.
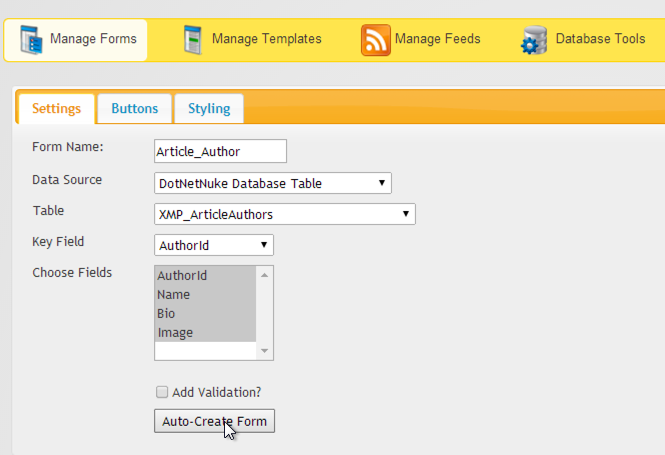
- First, give your form a name. Make sure the name doesn't contain any spaces and only contains letters, numbers, or underscores. I typically use the underscore character to separate words.
- Next select "DotNetNuke Database Table" from the Data Source drop-down list. After you do this, there will be a pause as the form builder retrieves a list of tables in your database. You'll then see additional controls for you to fill out.
- From the Table list, select "XMP_ArticleAuthors".
- The Key Field list should default to AuthorId. If it does not, select AuthorId from the list of columns. The Key Field is the Primary Key field in your table - the column that uniquely identifies each record. In our case, the AuthorId is the key field. The Form Builder needs this so it writes the appropriate SQL commands to edit and update records.
- Next, you can choose which columns from the table to include in your form. Select all of them.
- Leave the Add Validation checkbox un-ticked and click the Auto-Create Form button.
Our Auto-Created Form
The form builder will automatically generate a starter form for you, based on your settings. It makes a best-effort-guess as to which controls you'll want, based on the columns in your table, but you'll typically want to swap one or two out and make some tweaks as we'll do here.
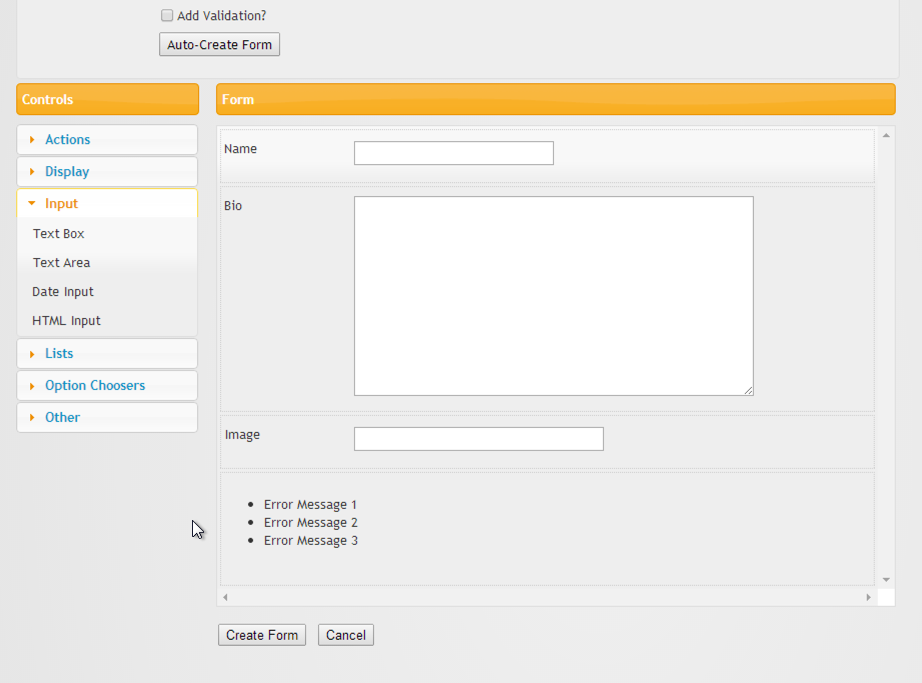
The form builder has added a text box for the author's name, a multiline textarea for the author's biography, and a text box for the author's image. It's also added a Validation Summary (the bullet list you see at the end of the form) that will house any messages coming from Validate controls on the form. We haven't added any validators yet, so it won't do much. We'll correct that in a moment.
Edit the Name Control
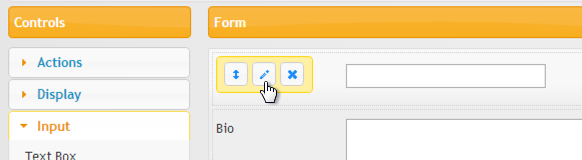
When you hover over a control on the form Canvas, a toolbar will popup. Hover over the Name control's row and click the pencil button to edit the control.
Textbox Control Designer
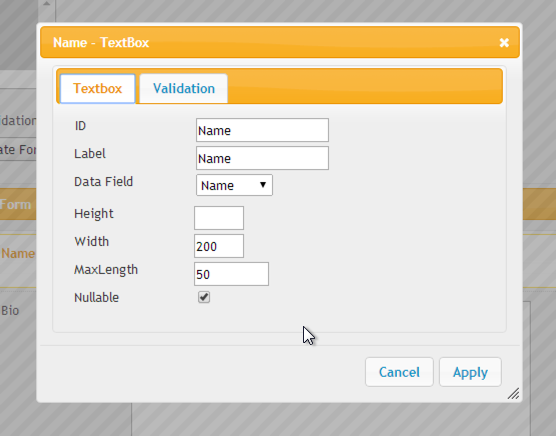
You'll see the form builder did a lot more than just generate a textbox. It added a label based on the column's name, it assigned the control's "Data Field" (the property that binds the control to the database table) to Name, gave the control a width of 200px and set the MaxLength property to 50 characters which is, if you remember, the maximum size of the Name column in our table.
By the way, the ID field is different than the Label and the Data Field — even though they have the same value in this example. The ID is a unique name that identifies this control within the form. Since you can't have columns with the same name, it's usually OK to use it for the control's ID. Just make sure the ID starts with a letter and only contains letters and numbers. The ID is used by other controls like the validators (which we'll talk about next). Next is the Label. The Label is the caption the user sees next to the control and can be changed to meet your needs. The Data Field, as I mentioned earlier, is the actual name of the table column you want to bind this control.
Requiring the Author's Name Be Entered
Even though the Form Builder adds a Validation Summary control to your form, it doesn't add any validation by default. Every author has to have a name, so let's make that a required field. Click on the Validation tab
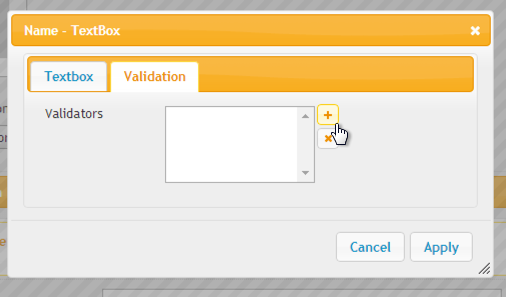
Even though we only need one validator, you can have multiple validations for each control. To add a validator, click the plus button next to the list
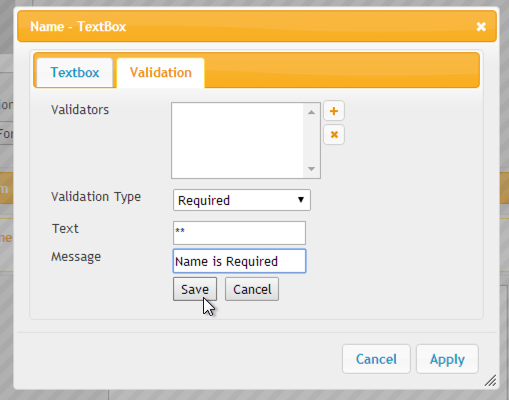
Additional controls will appear. Select "Required" from the Validation Type drop-down list. Next, add a couple of asterisks for the Text field. What you enter here will appear next to the control when validation fails (i.e. if the user doesn't fill in the author's name). It serves to draw the user's attention to the offending field. Next, the text you place in the Message field will appear in the Validation Summary (which appears near the form's Submit button along with any other validation message). This should provide a more descriptive explanation of what went wrong and how the user can correct the problem. Type: Author is Required for Message.
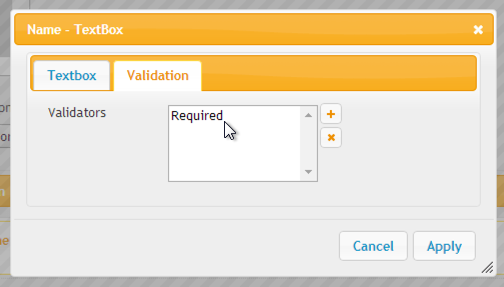
Finally, click the Save button and the Required validator will appear in the list of validators. If you need to edit it, simply select it in the list. To commit our changes to the form, click the Apply button in the bottom-right corner of the control's designer. The designer will disappear and your changes will be applied to the form.
Enabling Image Upload
The next item we want to tweak is the author's image. Currently, the form builder is using a textbox for the image but that doesn't help much. Instead, we want to be able to upload an image for the author.
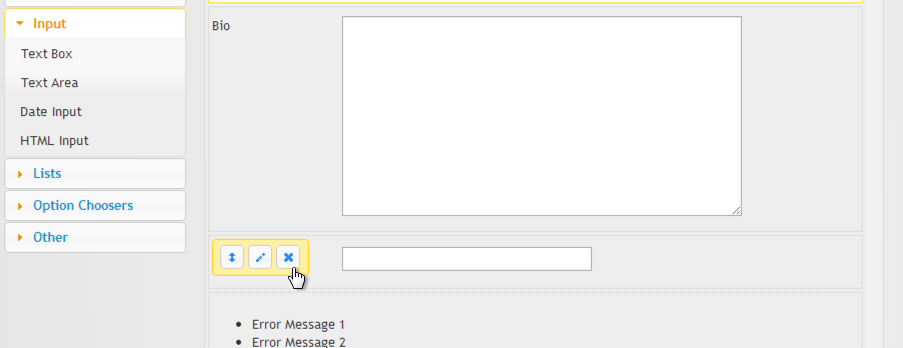
Delete the Existing Control
Add File Upload Control
- In the Controls Palette, click the "Other" section heading
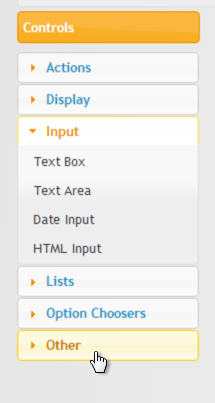
- Select the File Upload control
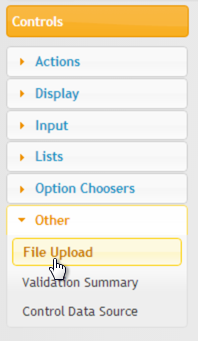
- The File Upload control designer appears
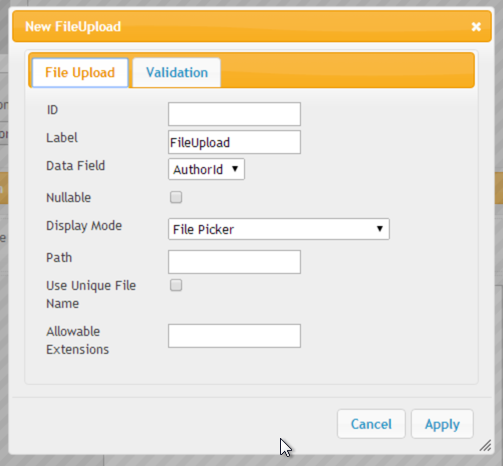
- Fill in the designer with the following information (or something similar for your needs)
- ID: Image
- Label: Image
- Data Field: Image
- Nullable: Un-ticked
- Display Mode: Upload File and Select It
This mode allows the user to upload the file and then XMP will send the file's filename to the database. This is the mode you will use most often
- Use Unique File Name: Ticked
This ensures that if an image with same name already exists on the server, it won't get overwritten by a newly uploaded file.
- Path: ~/Portals/0/XMP_Articles/images
This is where the image will be stored on your system. Feel free to change it to an appropriate folder in the website. This folder should be writeable. The tilde (~) mark is short-hand for 'website root'.
- Allowable Extensions: This defines the file types that are allowed to be uploaded. This attribute is required.
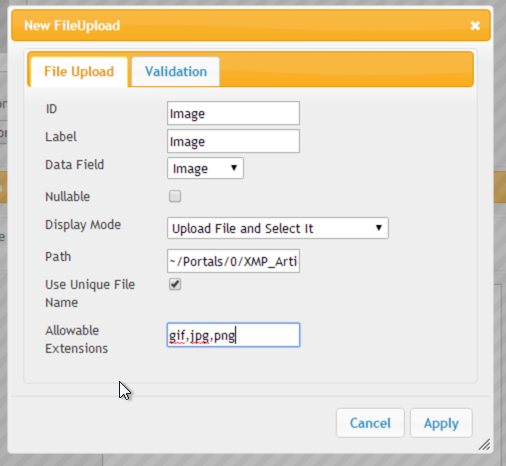
- Click the Apply button to add the File Upload control to the form's canvas.
- Re-order the controls. By default, new controls are added to the end of the form.
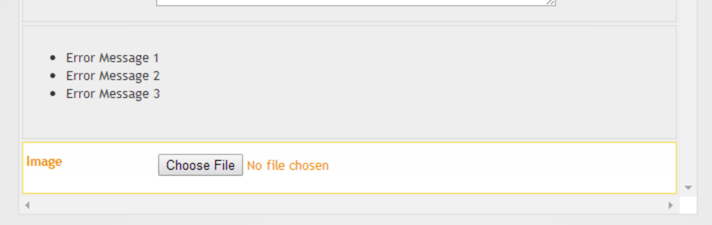
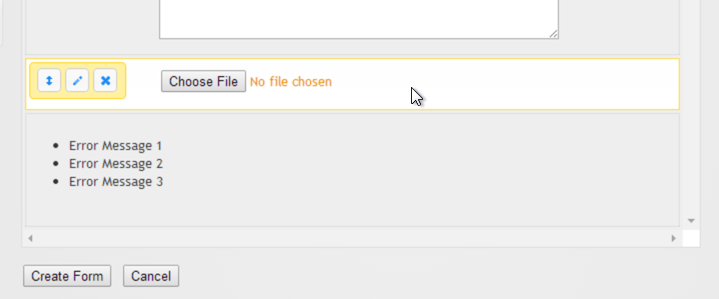
The validation summary should be last in the form so that it appears near the form's submission buttons. So, let's drag the file upload control and drop it in front of the validation summary. To drag a control, left-click anywhere in an open area of the control.
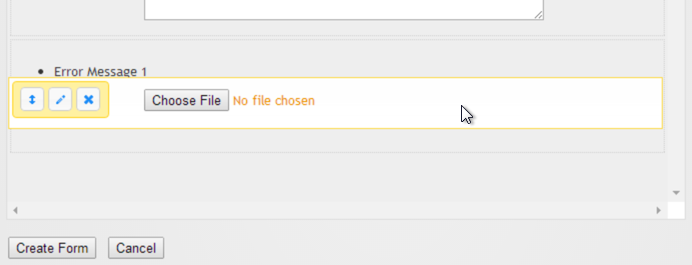
While holding the mouse button down, drag the control up until it is above the validation summary (the validation summary should slide down to make room). Let go of the mouse at this point and the control should drop into place.
Create Your Form
The last thing to do is the easiest. Simply click the Create Form button at the bottom of the form canvas. XMod Pro will create your form, save it, and take you back to the Manage Forms grid.
Test Your Form
- Click the Exit button in the Control Panel's toolbar (you'll find it on the far-right end of the toolbar). This takes us back to the Author page.

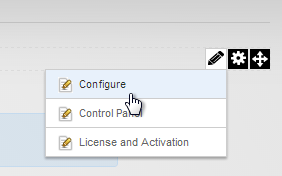
- From the XMP Action menu, select "Configure"
- On the Configuration page, select the form we just created from the Portal Forms dropdown.
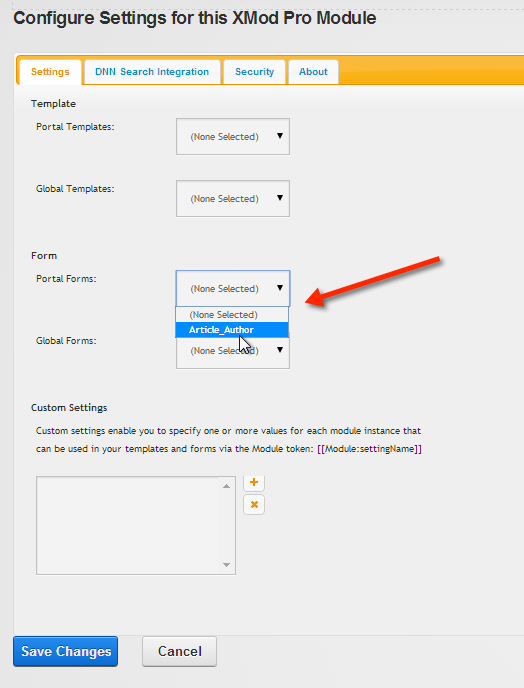
- Click the Save Changes button and your form will be live and operational.
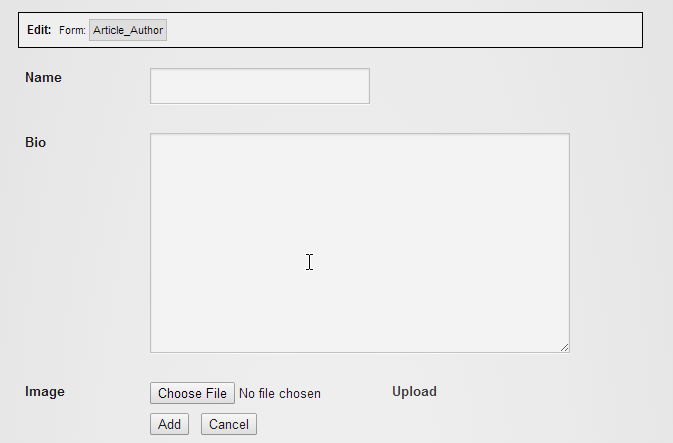
While XMod Pro controls the layout, it defaults to the basic DNN styling for the form controls. So your screen may look a bit different depending on the version of DNN you're running, as well as your site's skin. At this stage, our concern is not to make fancy forms, but rather to show you how to create the forms in the first place. Have no fear, XMod Pro provides complete styling flexibility through CSS and Javascript should you need it, but we'll save that for later tutorials.
- Let's go ahead and add a test author or two. You can add what you want, but I've added the following authors:
- Name: Mark Twain
Bio: American author and humorist best known for his books The Adventures of Tom Sawyer and The Adventures of Huckelberry Finn.
Image: 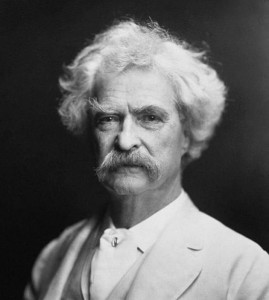 right-click to download. Image resized for this display
- Name: Herman Melville
Bio: American novelist, poet and writer of short stories. He is most famous for the whaling novel Moby-Dick.
Image: 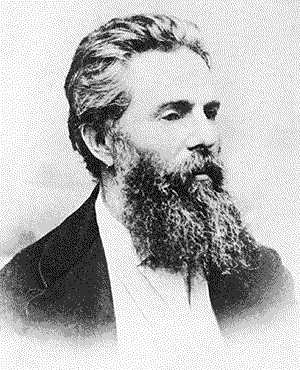 right-click to download. Image resized for this display
- Name: John Steinbeck
Bio: American author of twenty-seven books including The Grapes of Wrath and Of Mice and Men. Steinbeck won the Nobel Prize for Literature in 1962.
Image: 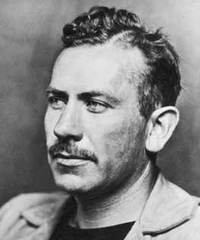 right-click to download. Image resized for this display
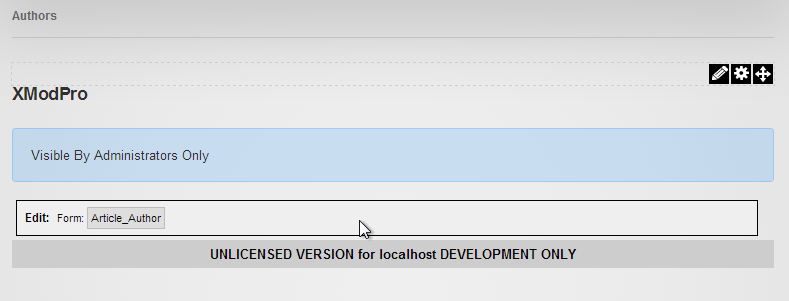
 After you add each first record, you'll get what essentially is a blank page. Don't worry. This is the expected behavior. We're just adding some raw data to play with. This won't happen after we get our template view together. In the meantime, simply revisit the page by clicking in the navbar or clicking on the breadcrumb. DON'T RELOAD or refresh your page. It's not the end of the world if you do, but you will get duplicate records as a result and you still won't be able to add new records.