Enabling your users to fill-out forms you've built and have that data stored in your database is wonderful. However, if you can't do anything with that data, then the whole exercise is rather pointless. In this lesson we'll cover how to display that data. I want to point out from the start that we are keeping things very simple. We'll be focusing on the mechanics - the step-by-step instructions on generating a view of your data. One of XMod Pro's many strengths is that it tries not to force you into any cookie-cutter mold for your displays. As such, it only adds a minimal amount of HTML and CSS. So, your results in this example will be a plain looking display and that is by design. The plain vanilla HTML makes it much easier for you or your designers to add CSS classes, additional HTML tags, Javascript and whatever else your solution might need.
- From an XMod Pro module instance, select Control Panel from the Module Actions menu (this is called the Manage menu in DNN 6).
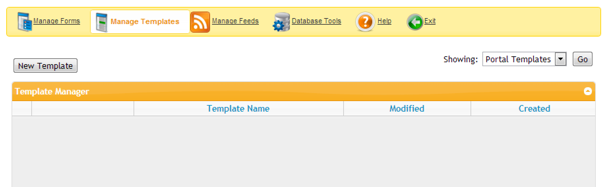
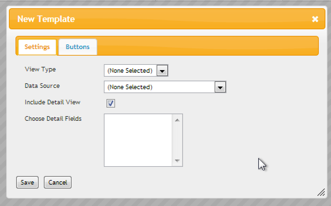
- Click the New Template button to display the New Template dialog.
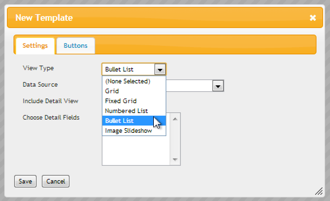
- We're going to keep things VERY simple in this example. We'll be avoiding any unnecessary styling or features. We're just explaining the basics of getting data to display in XMod Pro. So, select Bullet List from the View Type drop-down.
- Next, select DotNetNuke Database Table from the Data Source drop-down:
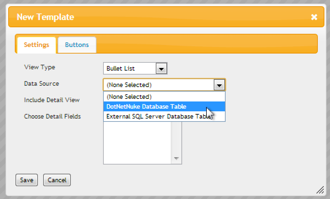
- Once you select a data source, a new drop-down list will appear with all the tables and views in the database. Select vw_Users. This is the view in every DotNetNuke database that lists your site's users.
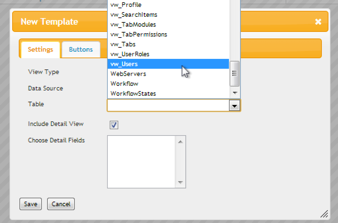
- Once you've selected your table/view, your dialog should look similar to this:
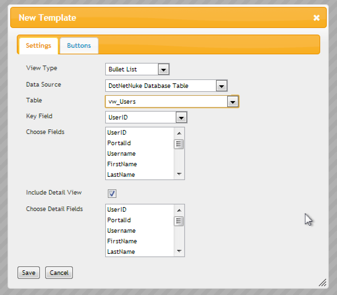
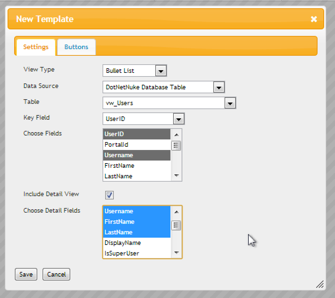
- The first drop-down is the Key Field. Select column that contains your table/view's primary unique identifier. Usually, as in the case with the vw_Users view, this will be an Identity field - a numeric column that is auto-incremented by the database whenever a record is added. In our example, the Key Field should be set to UserID. Next, you choose the fields you want to display in your List View. We are just displaying the User ID and Username of each user. It will make for a very boring display but will keep things very simple. So select those fields (you can select more if you wish). You can make multiple selections in the list box by CTRL-clicking (CMD-clicking on Mac) the columns you want. Below that you'll see a checkbox to include a detail view. XMod Pro can automatically generate a starter detail view for you and hook it up to your list view. So, keep the box ticked and choose the columns you want to display in your detail template. Here's what your dialog looks when we're finished with it:
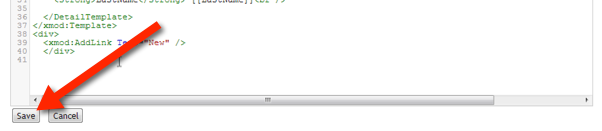
- Now, click the Save button in the bottom-left corner of the dialog and XMod Pro will generate your template for you:
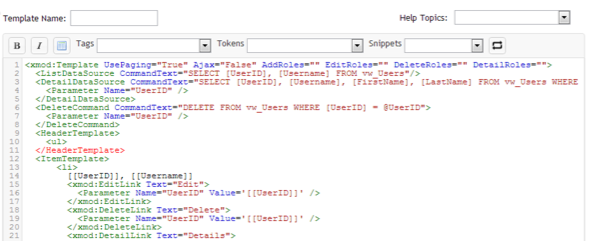
XMod Pro generates a lot of code for you. Feel free to take a look, but don't get bogged-down in it.
You should be able to get an idea of what the code does by reading through it. You'll see references to the fields you chose, tags like "DetailLink" and "DetailDataSource" (which are used for generating the Detail View of your Data). You'll also see "ListDataSource" which is where the data for your list view is retrieved. Again, don't worry about the code. It's not necessary at this stage. One of the beautiful things about XMod Pro is that you can get started immediately with a few clicks and gradually learn more as you want to do more with it.
- For now, the most important thing to do is give your template a name. We chose Site_Users. Notice that we did not use spaces in our name. XMod Pro only allows names that contain letters, numbers, underscores (_) and hyphens (-).

- Click the Save button below the editor
- All that remains to be done is configure our module to use the template. Click the Exit button you'll find in the Control Panel's toolbar (the big green button with an arrow on it) and select Configure from the Module's Actions menu.

- On the Configuration page, choose our template from the Portal Template's drop-down and then click the Save Changes button

- Since we only have one user on this site, it's not a very impressive list, but it's just enough so you can see what XMod Pro has done for you. If your site has more users, you'll probably see that XMod Pro has auto-magically created a paged resultset for you, displaying 10 records at a time.
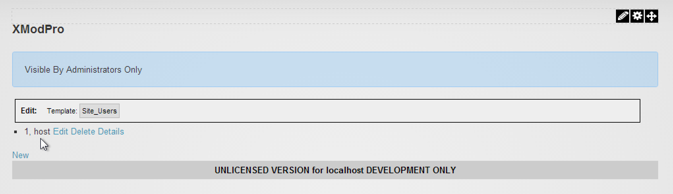
You'll see that the user's User ID is displayed alongside the user's Username. Beside that you'll see a link to edit the record, to delete the record, and to view the details of the record. Below the list of users, you'll also see a New button, used for adding new records. NOTE: The Edit link and New link are created for you but won't do anything unless you've also created a form to work with your data. So, in this example, they will either do nothing or will throw an error if you click them. FYI - when generating a template, you can choose which buttons are generated for you and what their text will contain. You'll find that on the Buttons tab of the New Template Dialog.
- However, the Details link does work, so click that to display the detailed view of the record
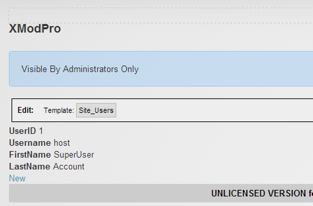
You can see that XMod Pro has included the fields we selected in the New Template dialog - UserID, Username, FirstName, and LastName. It has also added labels for each column and made them bold, to separate the labels visually from the data.
- This has been a quick walkthrough on how to display data in XMod Pro. It was meant to give you the basic steps without any additional features and with the bare-minimum styling. XMod Pro is so much more than what you've seen here, but hopefully you get a sense for just how quickly you can get up and running. In reality, you can generate a view of your data in a tiny fraction of the time it took to read this article.